Many Timers
Enable a user to start unlimited custom countdowns.
Environment
Use the environment you are most comfortable with. I recommend using create-react-app to create a local version of the project so that you can inspect the DOM easily from your browser when debugging. Alternatively, you can work from a blank React template in CodeSandbox. Starter code is provided after the problem specification.
Specification
Write a functional component called “Timers” that renders a centered input field and button at the top of the screen, along with a (wrapping) row of countdowns below it. The input field should accept a positive number of seconds from the user, and when the button is pressed, a new timer should be appended to the row and begin counting down from the user-specified number of seconds. When the timer reaches 0, it should be automatically removed from the row. Below is a screen grab of the site after specifying thirty seconds and clicking the “Add Timer” button about 50 times.
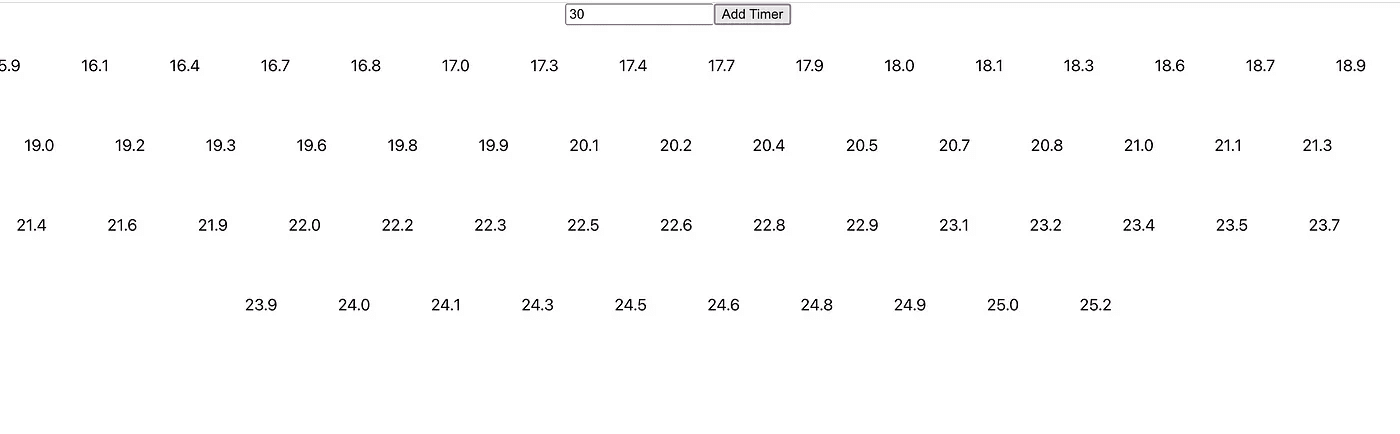
As you may have already observed, I round the times to the nearest tenth of a second. In the solution below, you will find that I also update the timers every tenth of a second. You may follow these decisions or instead choose to display your timers with greater precision.
Starter Code
Here is some code to get you started:
import { useEffect, useState } from "react";

function App() {
  return <Timers />;
}

const Timers = () => {
  // YOUR CODE HERE
};

export default App;
Solution
import { useEffect, useState } from "react";

function App() {
  return <Timers />;
}

const Timers = () => {
  const [seconds, setSeconds] = useState(30);
  const [timerList, setTimerList] = useState([]);

  useEffect(() => {
    const interval = setInterval(
      () =>
        setTimerList((list) =>
          list
            .map((timer) => {
              return {
                ...timer,
                left: timer.total - (new Date().getTime() - timer.start),
              };
            })
            .filter((timer) => timer.left > 500)
        ),
      100
    );
    return () => clearInterval(interval);
  }, []);

  return (
    <>
      <div style={{ display: "flex", justifyContent: "center" }}>
        <form onSubmit={(e) => e.preventDefault()}>
          <input
            type={"number"}
            value={seconds}
            onChange={(e) => setSeconds(e.target.value)}
            min={1}
            required
          />
          <input
            type={"submit"}
            onClick={() =>
              seconds > 0 &&
              setTimerList([
                ...timerList,
                {
                  start: new Date().getTime(),
                  total: seconds * 1000,
                  left: seconds * 1000,
                },
              ])
            }
            value={"Add Timer"}
          />
        </form>
      </div>
      <div
        style={{ display: "flex", justifyContent: "center", flexWrap: "wrap" }}
      >
        {timerList.map((item) => (
          <div key={item.start} style={{ margin: 30 }}>
            {(item.left / 1000).toFixed(1)}
          </div>
        ))}
      </div>
    </>
  );
};

export default App;
We begin by initializing two state variables, one to store the value currently in the input field and one to store an array of timer objects. A timer object keeps three fields: start, total, and left. All three fields are associated with numeric values. the start field stores the value returned from
new Date().getTime()
called when the object is created. the getTime() method returns the number of milliseconds from the ECMAScript epoch to the time of the Date object on which it is called. The total field stores the length of the timer in milliseconds, and the left field stores the time left on the timer in milliseconds. To render the row of timers, we map over the timerList state array and render the left field from each timer. When the user selects the “Add Timer” button, (so long as they have input a positive number of seconds) we create a new timer object and set the timerList state array to a new array composed of the existing timers along with the appended new timer.
The driving mechanism behind the component is the interval set up in the callback passed to useEffect(). Every tenth of a second, the function we pass via the first argument to setInterval() is triggered and sets the timerList state array to a new array containing copies of the original timer objects with the left fields updated to reflect the time currently left on each timer. Notably, we pass a function instead of a list to the setTimerList() callback returned from useState(). Passing a function to setState() instead of a new value (as is most commonly seen) alerts React to pass the current state to the function provided and update the state to the value returned by the function. In other words, if we have the following state initialized:
const [number, setNumber] = useState(0);
// Version 1
setNumber(number+1);
// Version 2
setNumber(x => x+1);
Versions 1 and 2 will produce the same result. You may have gone with something like Version 1 in your project and achieved the desired behavior. In this case, you must be sure to include the timerList state variable in the dependency array passed to useEffect() — without it, the interval will use stale state and consistently update the timerList using the original timerList instead of its current value. This design, however, is mildly flawed; setInterval() can just as well be replaced by setTimeout() because the useEffect() will set up the interval, it will fire once (and update the list), and (because the list is a dependency for the effect) the interval will be torn down and effect will run again to create a callback with the updated version of the list. Passing an updater function to setState() instead of a value that depends on the current value of a state variable enables us to omit the dependency and reuse one interval. I encourage you to log the interval ID returned from setInterval() and check the browser console to confirm your effect runs as often as you expect. You can read more about function updates in the React Documentation.
For a quick extra challenge to brush up on your CSS skills, render loading bars filled in proportional to the amount of time left instead of plain countdowns. For example, if the timer bars are 100px wide, a 10-second timer with 8 seconds left would appear as a bar that is shaded in from its left side to pixel 80, and empty from 80 to 100.